
Cooking guide
Beef brisket: the long cook that earns its reputation
Let’s talk brisket—the king of smoked meats, the sultan of swat, the… you get the idea. Lower chest, connective tissue, a fat cap that needs time. Rush it and you’re chewing something that should’ve stayed a pot roast fantasy.
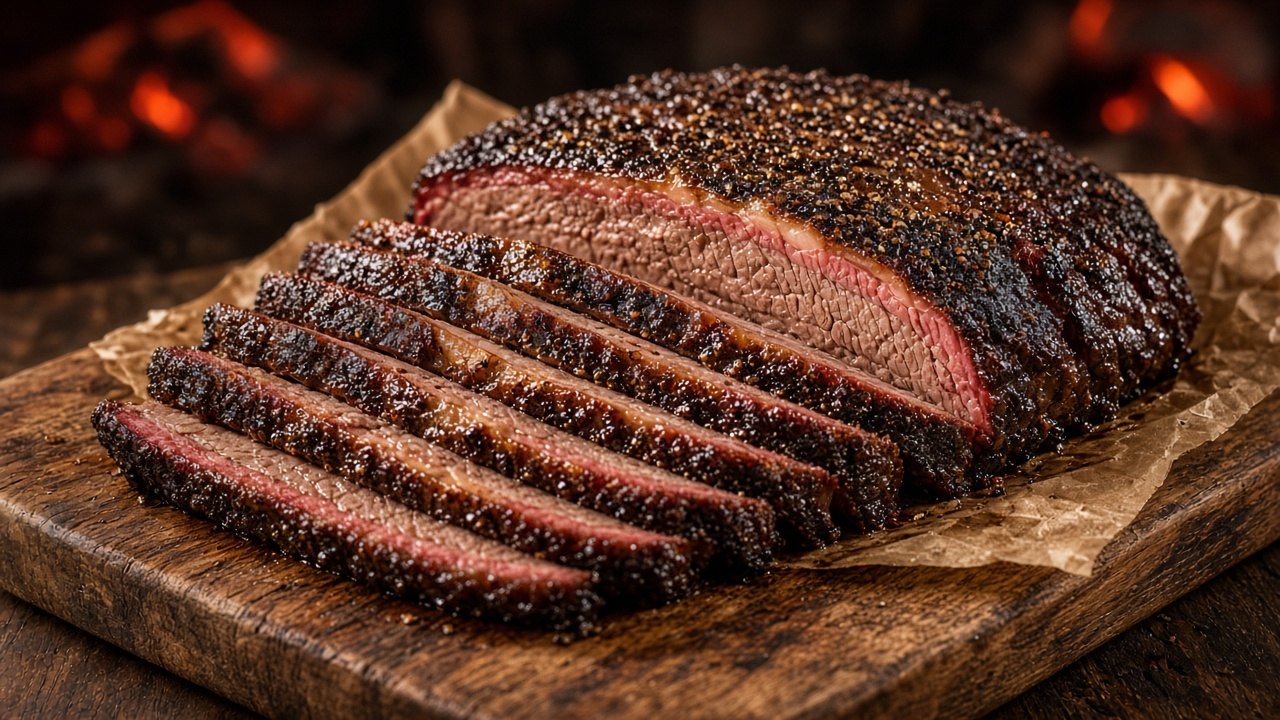
Buying: grades, size, and honesty about Wagyu
Official USDA quality grades for beef include Prime, Choice, Select (and several less common grades). I usually go Prime, most often at Costco, looking for a packer around 10–16 lb—and I plan to feed people. Prices and inventory change; shop what’s actually on the shelf.
Wagyu is not a USDA quality grade. It’s a breed / genetics claim (and sometimes a marketing label). A carcass can be Wagyu and graded USDA Prime if it qualifies—but “Wagyu” alone isn’t a rung above Prime on the USDA ladder. Read both the breed claim and the grade.
USDA AMS beef quality grades (AMS QAD 107).
Prep sequence
- Rest out of the fridge about 30 minutes while you set up.
- Trim the fat cap to roughly ¼–½ inch; tidy thick side fat toward ~¼ inch.
- Coat with the mustard binder (“firehouse glue”).
- Apply dry rub so it sticks—Texas-style salt and pepper, or a pantry blend you already like.
- Smoke low and slow; manage stall/wrap; finish by feel as well as thermometer; rest carefully.
Binder (“firehouse glue”)
Ingredients
- ½ cup yellow mustard
- ⅓ cup apple juice or cider
- 2 tablespoons Worcestershire
- 2 tablespoons apple cider vinegar
Steps
- Stir until smooth.
- Coat the brisket, working into seams and edges.
- Season with rub while the surface is still tacky so it grabs.
Fat-cap direction
Rendered fat doesn’t meaningfully “soak into” muscle the way folklore says. Cap orientation is mostly about protecting the meat from your heat source and managing bark.
- Heat mostly from below (many kettle / some bullet setups): fat-down can shield the lean.
- Offset / side heat: many cooks put the thicker point or fat toward the fire as a shield.
- Pellet / even overhead heat: either orientation can work; prioritize even cook and bark you like.
On my cooks I often run about 225°F with the fat cap up. Match orientation to your smoker’s hot side.
Smoke, stall, and wrap
Keep a probe in the thickest part of the flat. Planning math around ~1.25–1.5 hours per pound for a full packer is a starting point—briskets stall, smokers drift, weather happens. Pad the schedule.
The stall (temps flattening, often around the mid-160s°F) is normal. Wrapping in butcher paper (or foil) can help push through—but when you wrap is a judgment call: bark set, color you like, how hard the stall is biting.
Doneness: probe tender beats a magic number
I look for roughly 195–202°F in the thickest part as a neighborhood, not a finish line. Pull when a probe slides in with little resistance in the flat—temperature alone can lie if collagen isn’t ready.
Rest and cooler holds—watch 140°F
Resting helps. A cooler can hold heat for serving later—but it isn’t a free pass. USDA FSIS: keep hot food at or above 140°F. The Danger Zone is 40–140°F; don’t leave food there more than 2 hours (1 hour if ambient is above 90°F).
If you rest in a cooler, monitor with a thermometer. Under 140°F while “holding hot” means serve, or cool leftovers properly (shallow containers, refrigerate at ≤40°F within 2 hours).
Minimum kit Weekend checklist First-cook framework
Sources
- USDA AMS — Meat labeling grades (QAD 107): PDF
- USDA FSIS — Safe minimum internal temperature chart: fsis.usda.gov
- USDA FSIS — Danger Zone / hot hold ≥140°F: fsis.usda.gov